

Events we send
Payload for each is in the API Reference.
A verified payment sends nothing.
VERIFIED means nothing is outstanding, so there is no event — do not wait on one to confirm a payment passed.Set it up
1. Build the endpoint. A public HTTPS URL that acceptsPOST with application/json and returns 200 OK.
2. Register it. In your EximPe Dashboard, go to Developer and enter the URL. If you cannot use the dashboard, send the URL and your server IP to EximPe Support instead.
3. Whitelist our IPs. The ranges are in the same Developer section. Configure your firewall to accept webhooks only from those addresses.
4. Test it. Make a sandbox payment, watch it arrive, confirm you return 200.
Driving every event in sandbox
You do not have to wait for real money, or a real settlement date, to exercise your handlers. Sandbox lets you fire each event on demand.
Set Refund Status is the useful one for coverage: force a single refund through
REFUNDED, FAILED, PROCESSING, REVERSED, ON_HOLD and BANK_REJECTED_REFUND in turn, and one refund exercises every branch of your handler. INITIATED fires nothing — it is the starting state, not a transition.
Mark as Settled applies a simulated fee schedule, not your contracted rates. Use it to check that your reconciliation arithmetic holds, not to predict what a production settlement will pay you.
Check the message is really from us
Every webhook carries an HMAC-SHA256 signature. Verify it before you act on anything — otherwise anyone who finds your URL can tell you a payment succeeded. There are two headers, and you get both on every delivery:1
Take the signature from the header
Read
X-Webhook-Signature off the request.2
Get your Encryption Key
It is in the Developer section of the dashboard.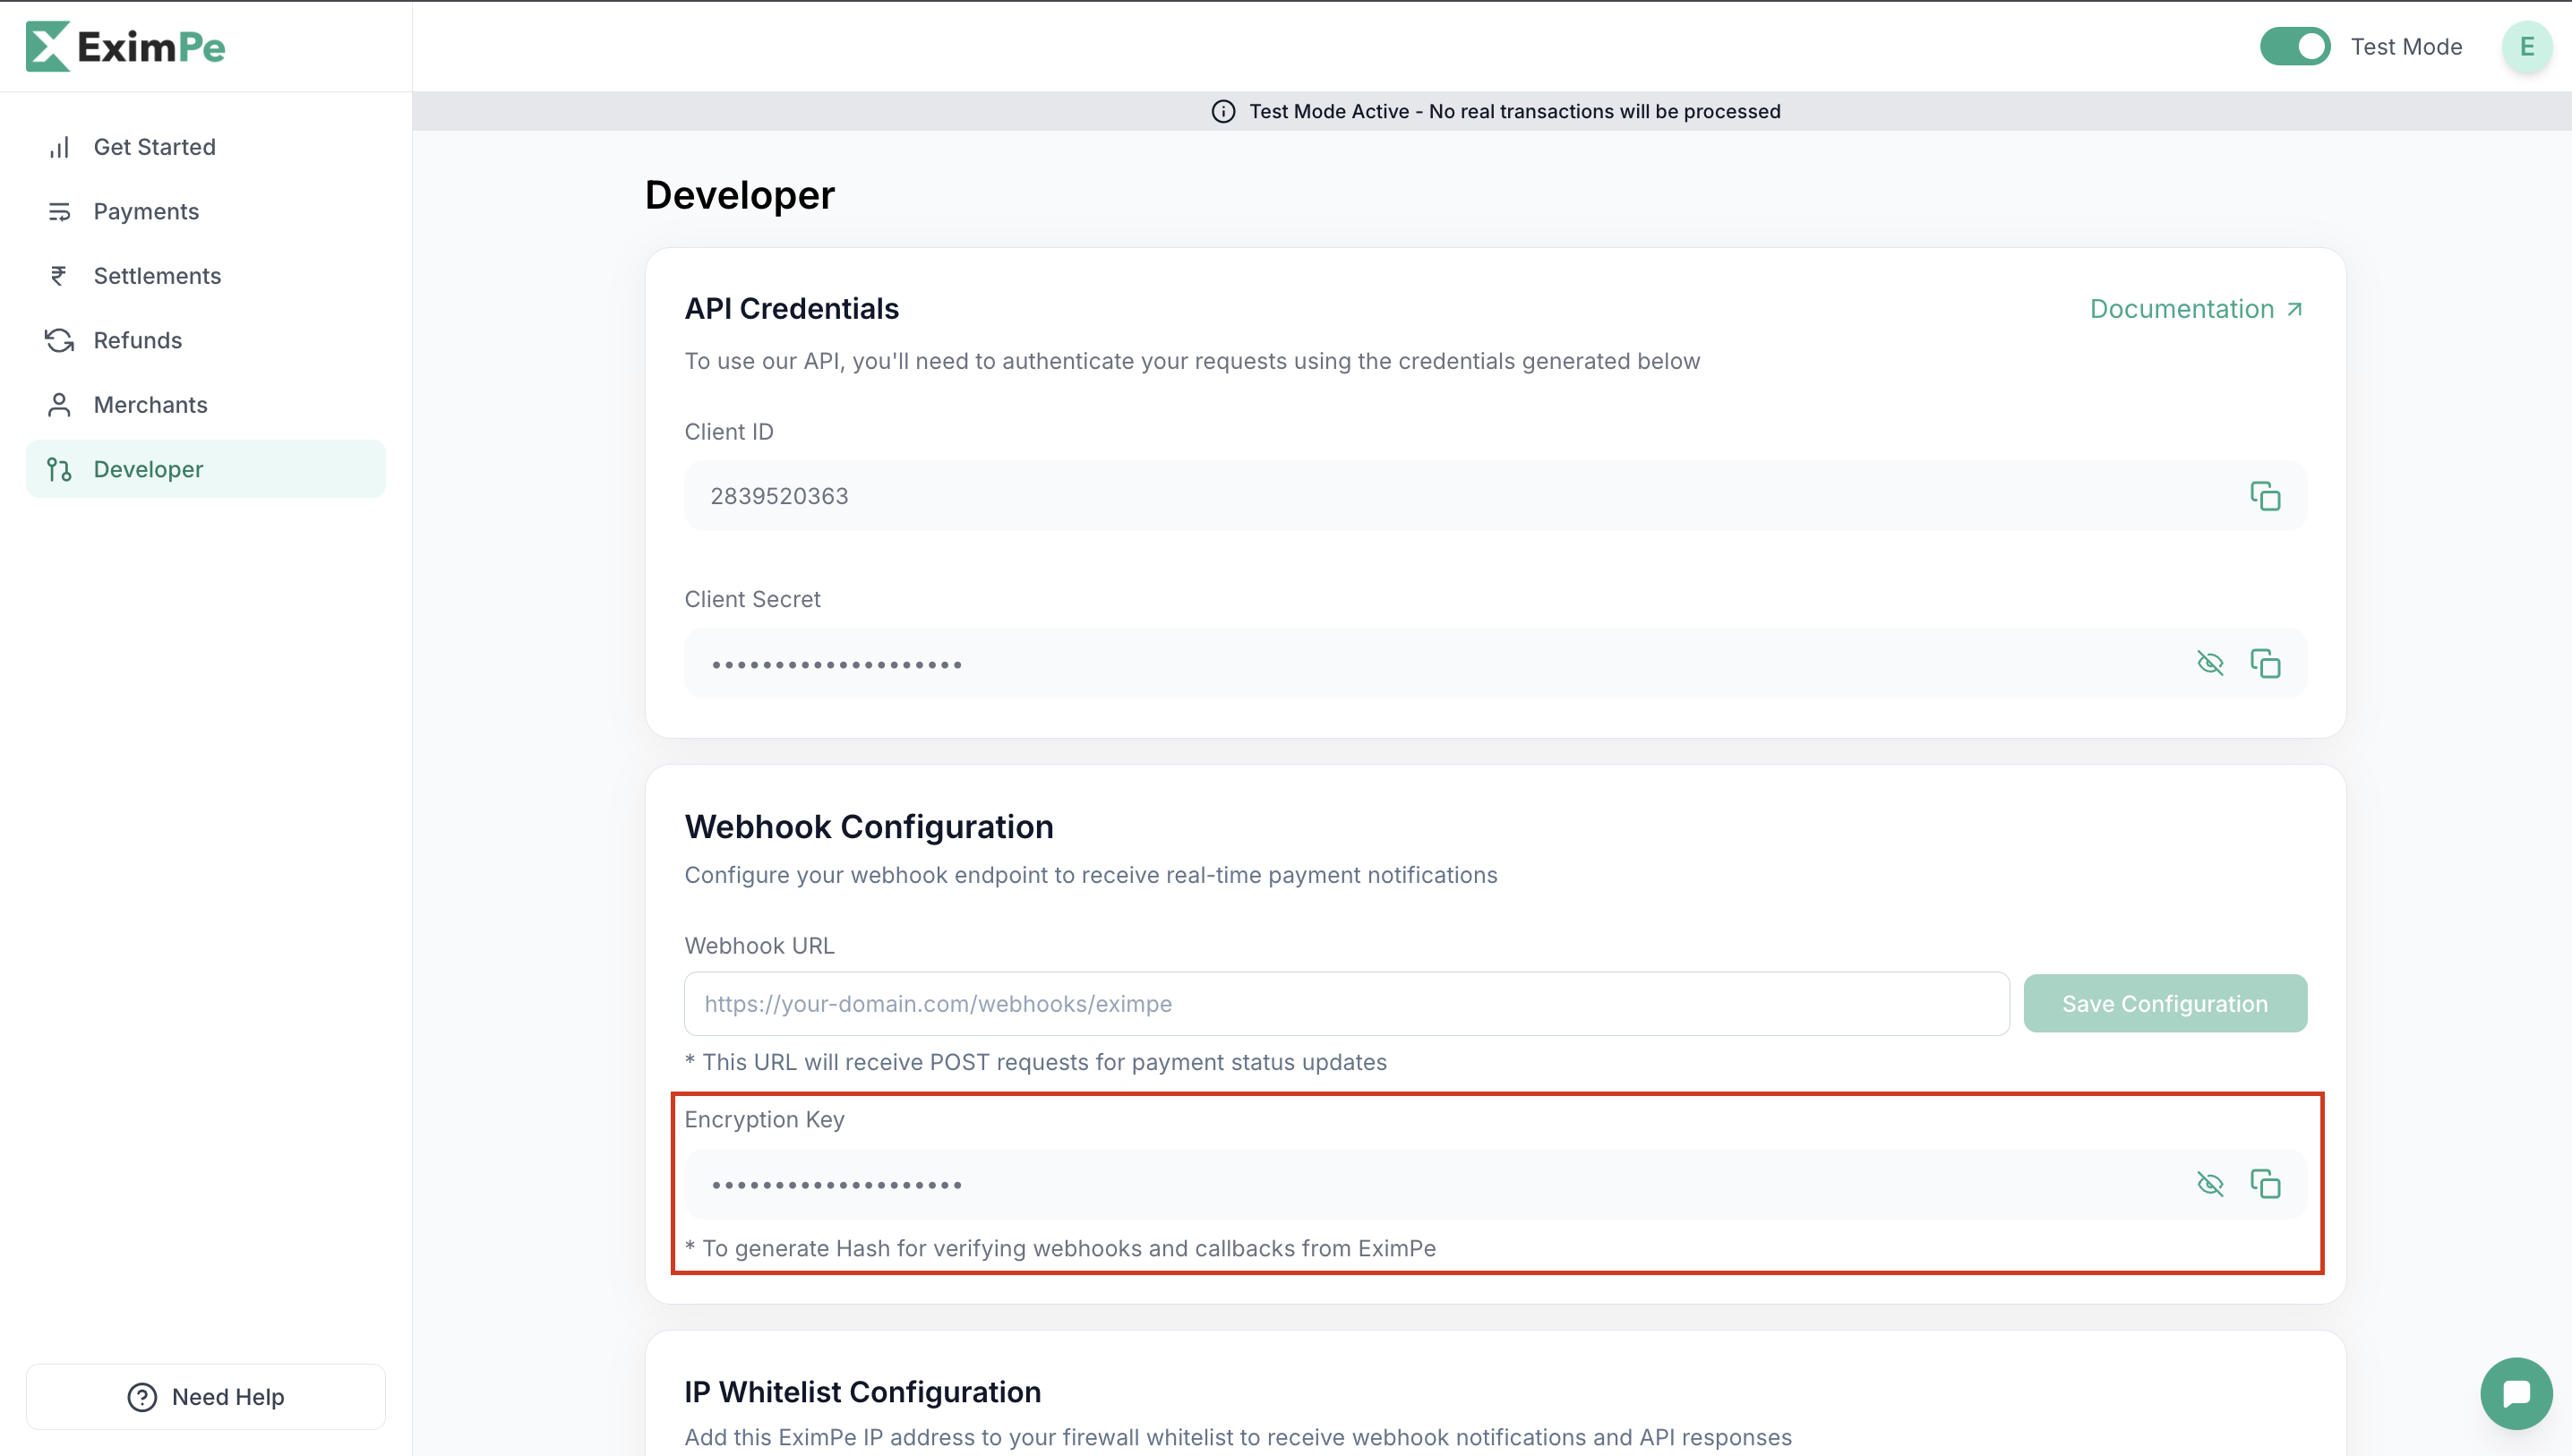
3
Rebuild the signature
HMAC-SHA256, using your Encryption Key as the secret and the raw request body as the message. Output as a hex string.
4
Compare
They must match exactly. Use a timing-safe comparison.
Code
If your endpoint is down
We retry. First attempt is immediate, then at 1 minute, 5 minutes, 15 minutes, and 1 hour. After 5 failed attempts we stop. Anything other than200 OK counts as a failure, so return 200 as soon as you have stored the event, and do your processing afterwards.