> ## Documentation Index
> Fetch the complete documentation index at: https://docs.eximpe.com/llms.txt
> Use this file to discover all available pages before exploring further.
# Registering for an Account
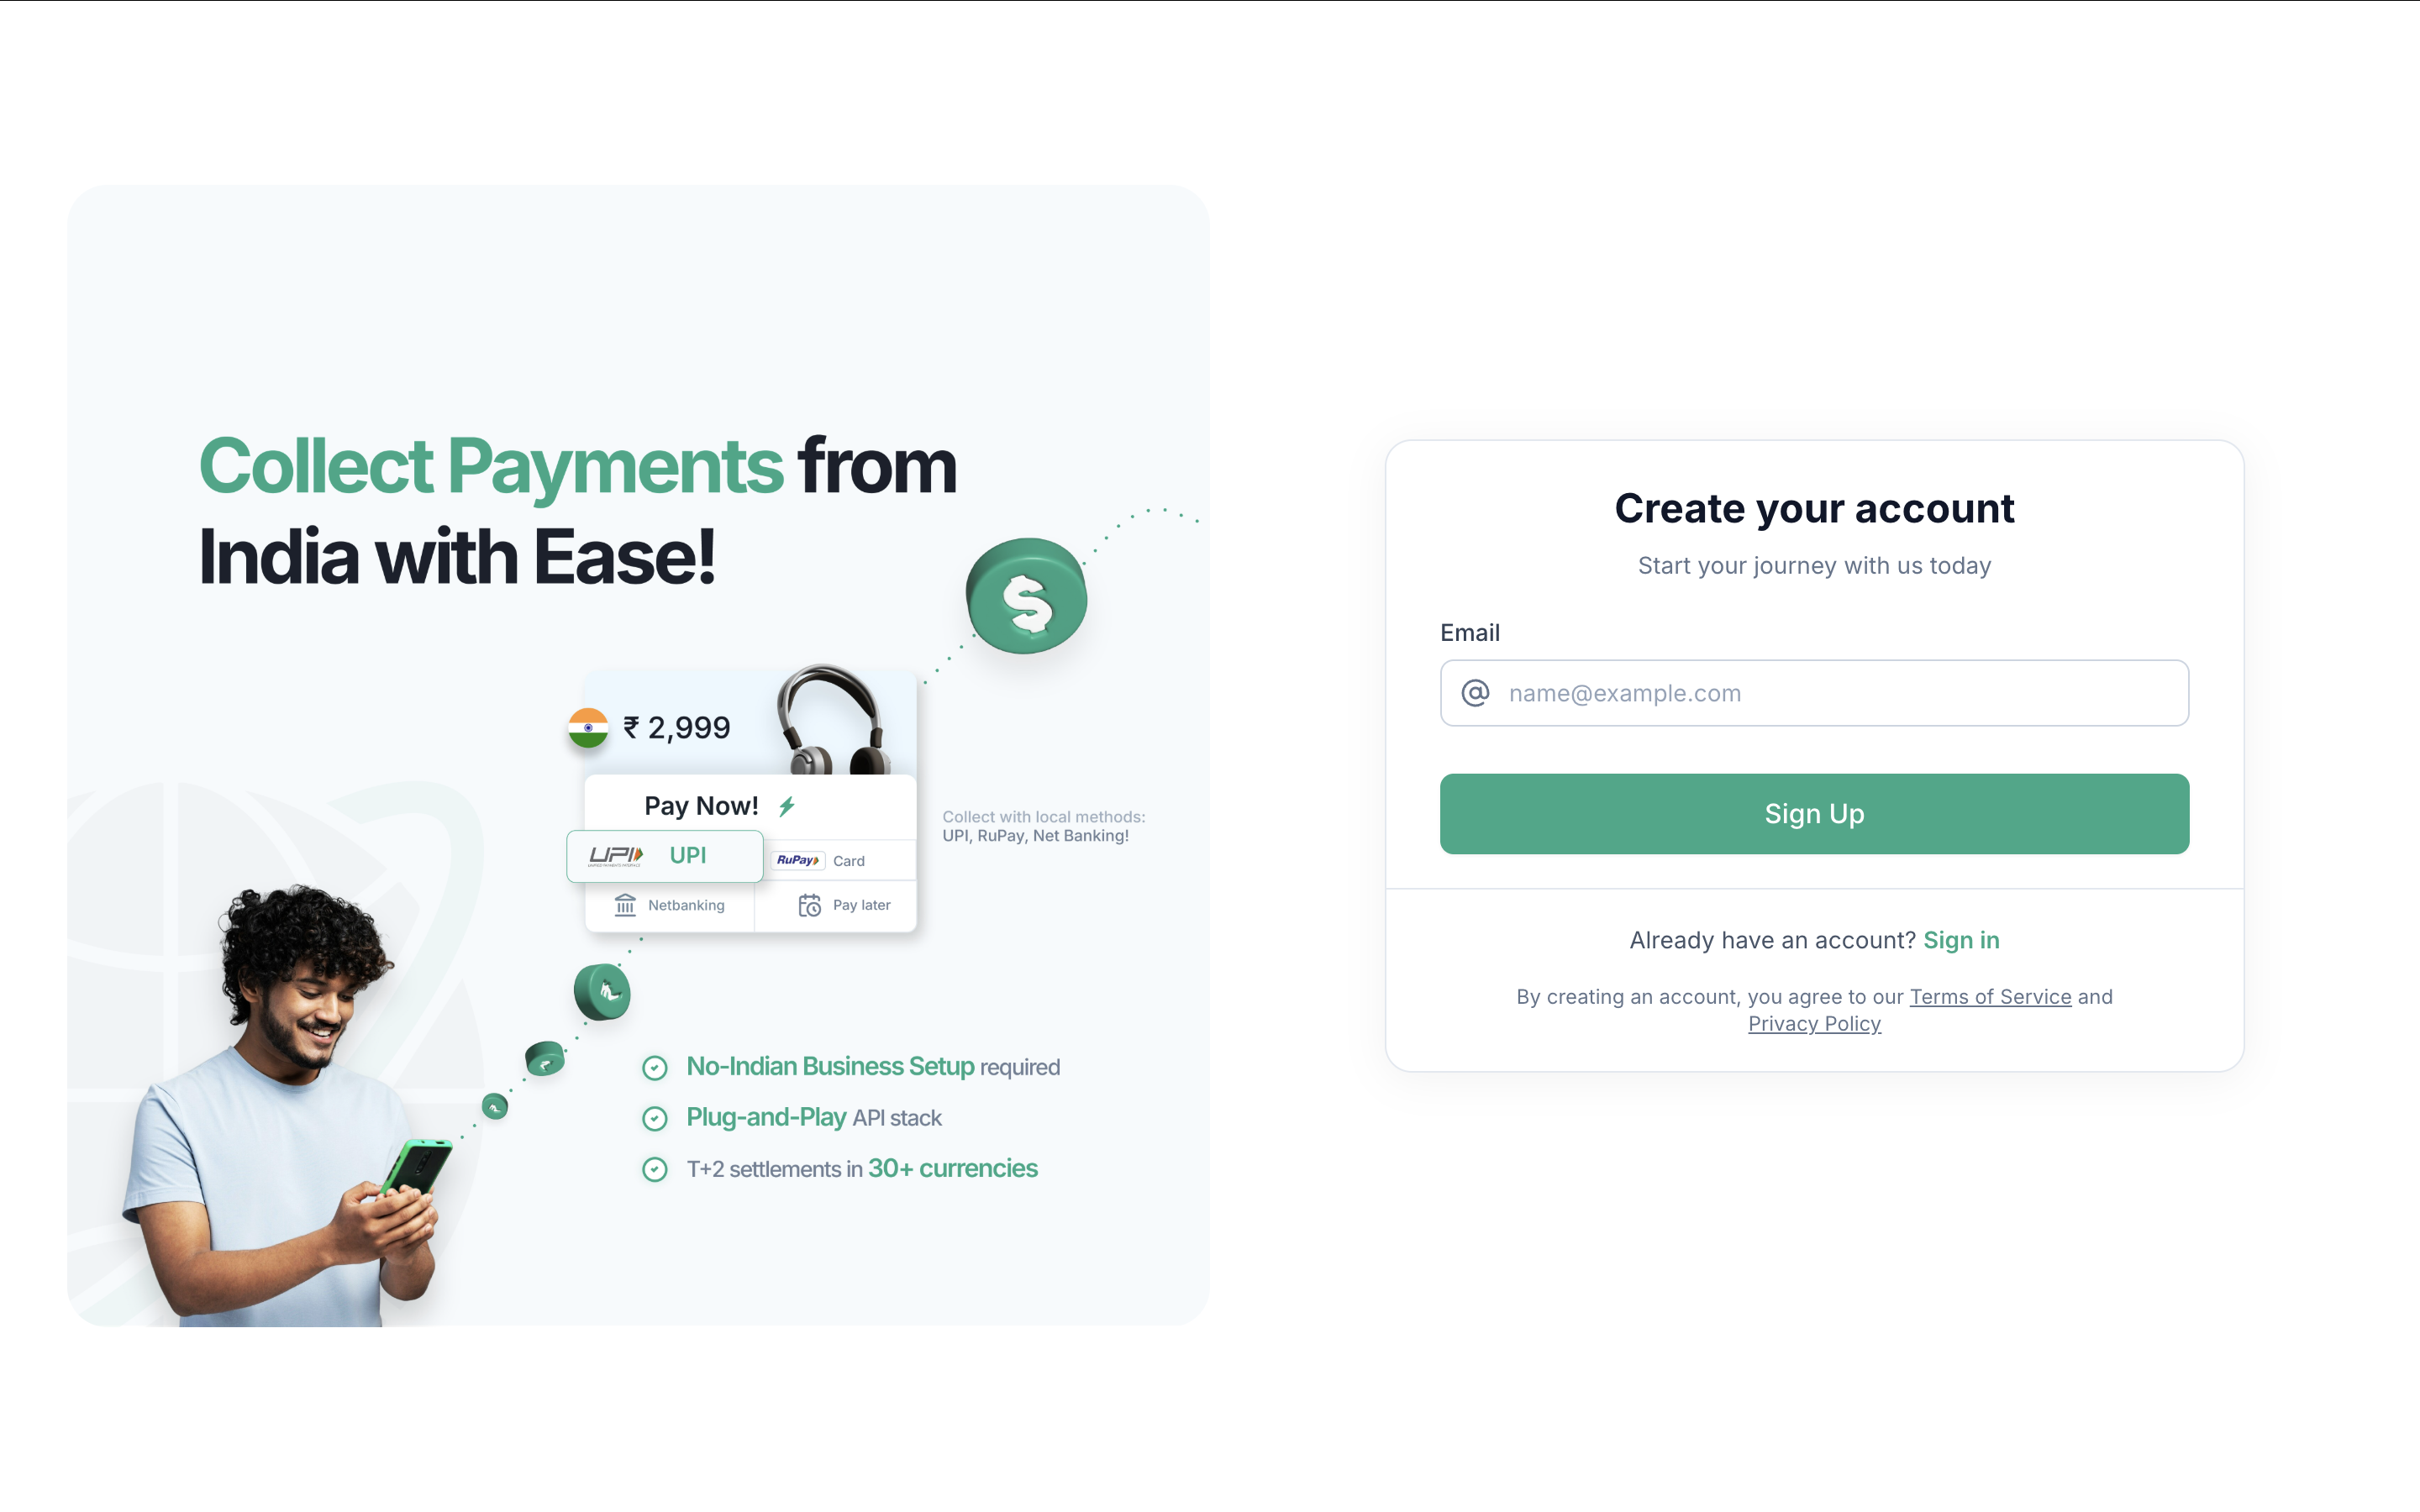
> Ready to start accepting payments with EximPe? Just follow this quick guide to get your merchant account up and running.
1. **Navigate to the sign-up page** - [merchant signup](https://merchant.eximpe.com/auth/sign-up)
2. **Enter your business email**
3. **Verify your email using the OTP we send**
4. **Fill in your company info:**
* Business Name
* Country
5. **Choose Account Type:**
* Merchant — For individual businesses accepting payments
* Payment Aggregator — If you're managing payments for multiple merchants
6. **You're In!**
Once you complete the form, you'll be redirected to your EximPe Dashboard, where you can begin activating your account and integrating payments.
 2. **Enter your business email**
3. **Verify your email using the OTP we send**
4. **Fill in your company info:**
* Business Name
* Country
5. **Choose Account Type:**
* Merchant — For individual businesses accepting payments
* Payment Aggregator — If you're managing payments for multiple merchants
6. **You're In!**
2. **Enter your business email**
3. **Verify your email using the OTP we send**
4. **Fill in your company info:**
* Business Name
* Country
5. **Choose Account Type:**
* Merchant — For individual businesses accepting payments
* Payment Aggregator — If you're managing payments for multiple merchants
6. **You're In!**